
How to use a picture rail to hang art.
One of the first things we noticed when we first toured the Broughton Street House was an unused picture rail in the downstairs hallway. We’ve always been fascinated by picture rails and really wanted to put this one to use. While we’ve seen them before, we’ve never actually used one, so we needed to figure a few things out.
A quick background: A picture rail is a somewhat archaic way to hang art on your walls. The advantage of a picture rail is that avoids putting holes in your walls. Subjectively, it can be beautiful due to the extra ornamentation of the hanging system. They went out of fashion mid-twentieth century and most picture rails have been removed from houses that originally had them. The physics of hanging objects via an attachment point on one side dictates that the art will lean forward to a certain extent, but this is manageable. Cost is another disadvantage when compared to a simple nail.
However, they grab your attention since they are so rarely seen these days.

In order to hang a picture from a picture rail, you need 5 components.
First: Picture Rail.
A picture rail is a piece of moulding that runs parallel but below any ceiling moulding you may already have. In many cases it will be just below the ceiling an inch or two, but in the case of the Broughton Street House the picture rail is significantly below the 12 foot ceiling.
If you don’t already have picture rail, that’s not a problem. You can find this in the moulding / mill work section of most Home Depot stores. Here’s an example.
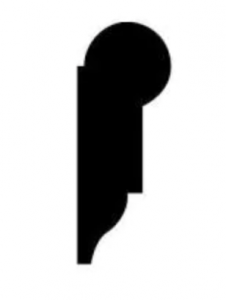
As you can see in the profile below, picture rail fits flat against the wall, and projects a lobe upward and away from the wall. That lobe is where your picture rail hangers will rest.

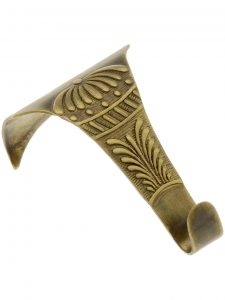
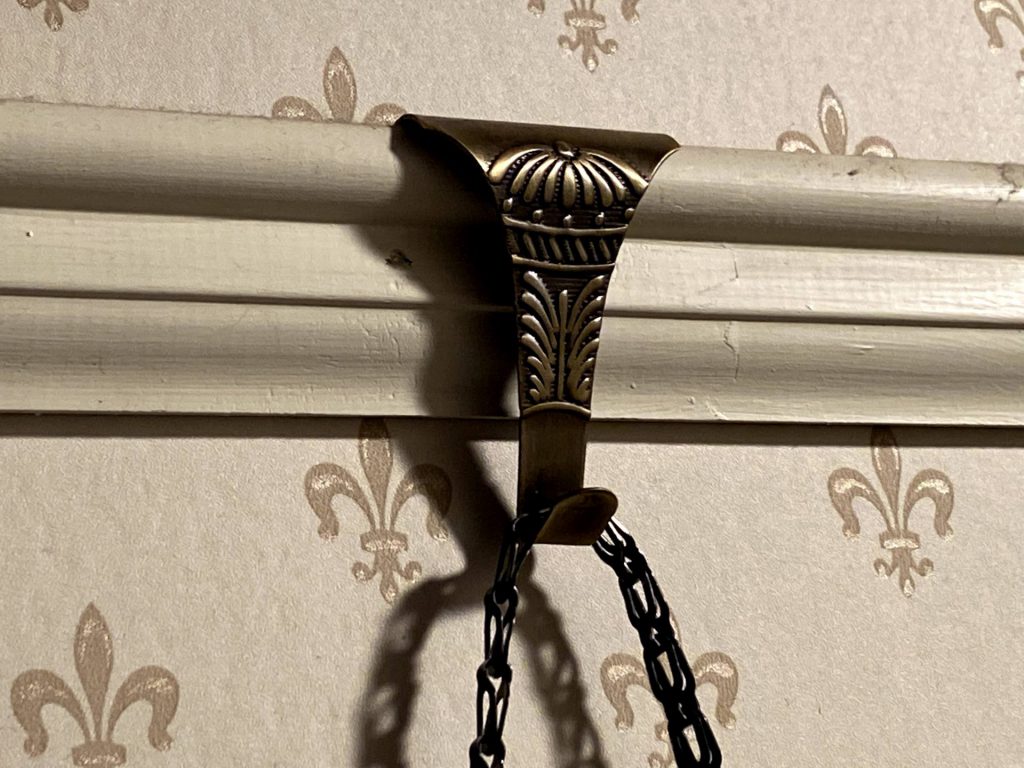
Second: Picture Rail Hangers
Picture rail hangers are harder to come by, but if you’re adding this to your historic home then I recommend ordering them from House of Antique Hardware. They have an interesting selection of hangers derived from various historical styles. We chose their “Regency” style as the best fit for the Broughton Street House.

Three: Picture Hanging Cord or Chain
We bought our picture hanging chain from House of Antique Hardware so it would match the rail hangers. It’s pretty high quality stuff with a nice antique brass finish.

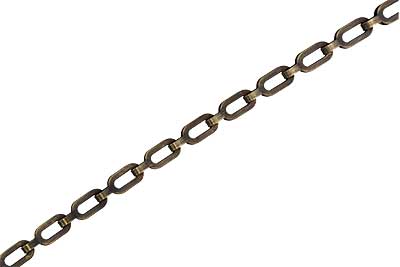
You could also choose rope or wire. If you like to get really ornate, the rope options are pretty fancy. In our case, we chose the metal for both durability but also a little less fussy and ornate. Here’s a link to the product page for the chain we purchased.
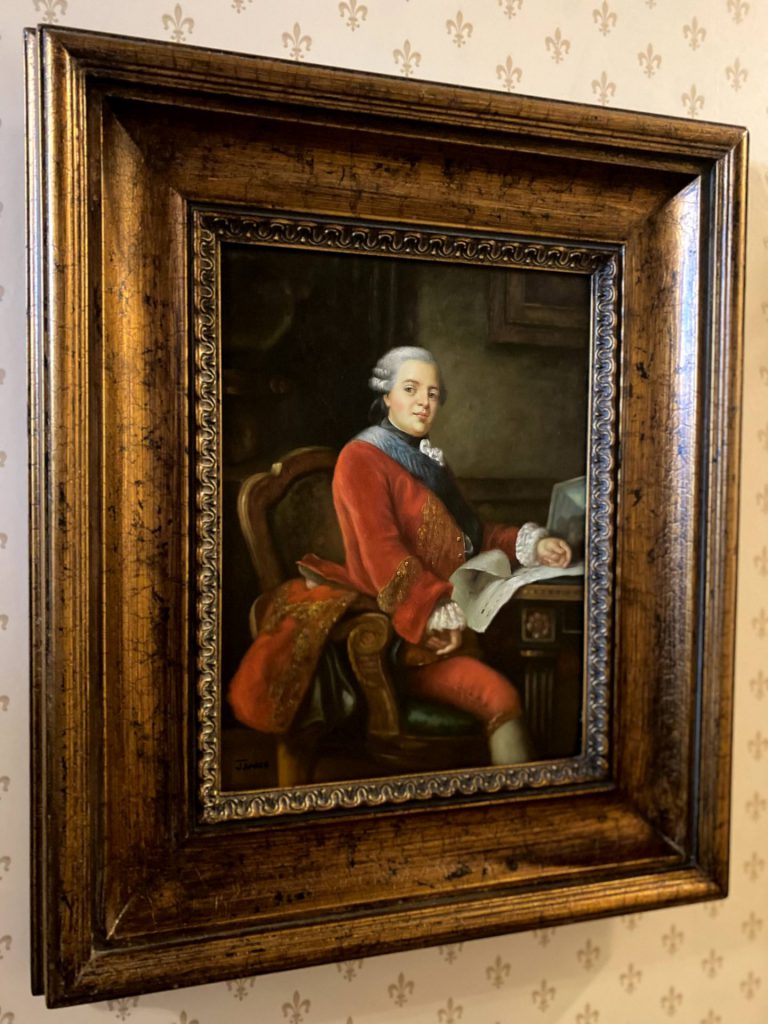
Four: Art
It may seem obvious
Five: D-Rings Attached to the Art
You will attach the cord or chain to the frame via D-rings. While many frames will already have D-ring attachments about 1/3 of the way down the frame
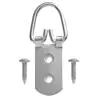

Here’s a link to the product page at Home Depot.
Putting It All Together
It might seem obvious how it should all go together but I’ll tell you we learned a few lessons in our project.
The hangers themselves are the easiest part. You need a ladder, but you simply slip the hanger over the rail. It sits neatly onto the contour of the rail and provides a stable peg for the picture to hang from.

More challenging was hanging the art and getting it to not tilt forward too much. Here’s our first attempt:
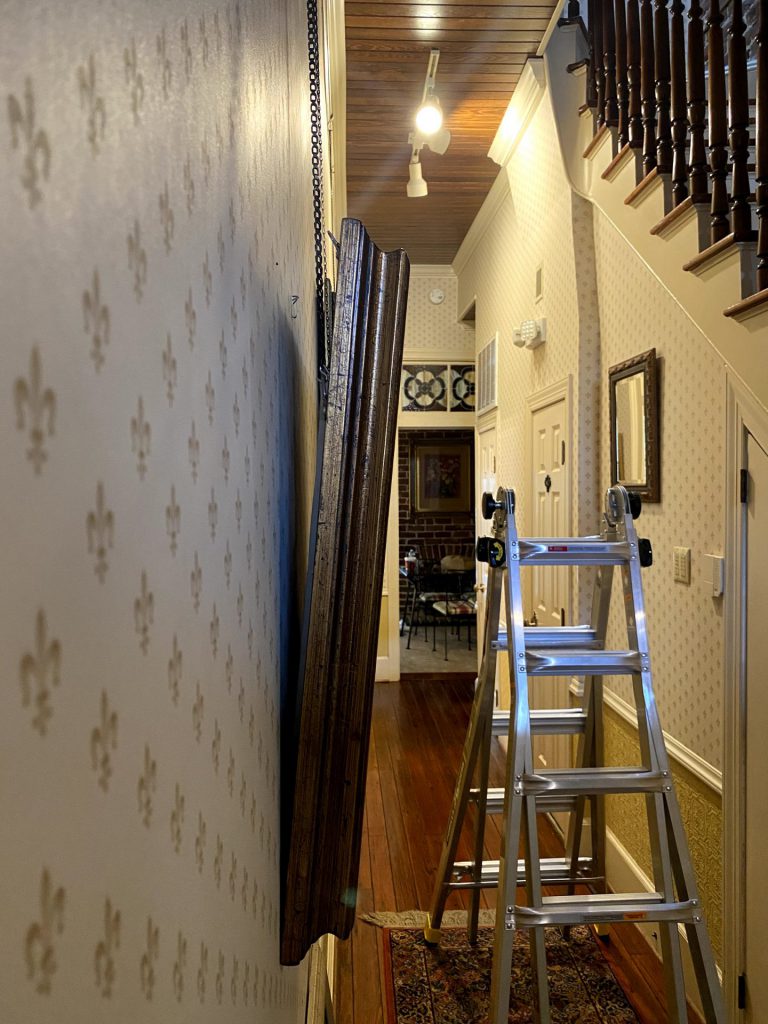
On a typical picture frame, the D-Rings are located 1/3 of the distance from the top of the frame, on either side. With the chain and rail system, this turned out to not be optimal. Having the fulcrum point so low caused the picture to lean forward over an inch from the wall at the top.
Installing D-Rings
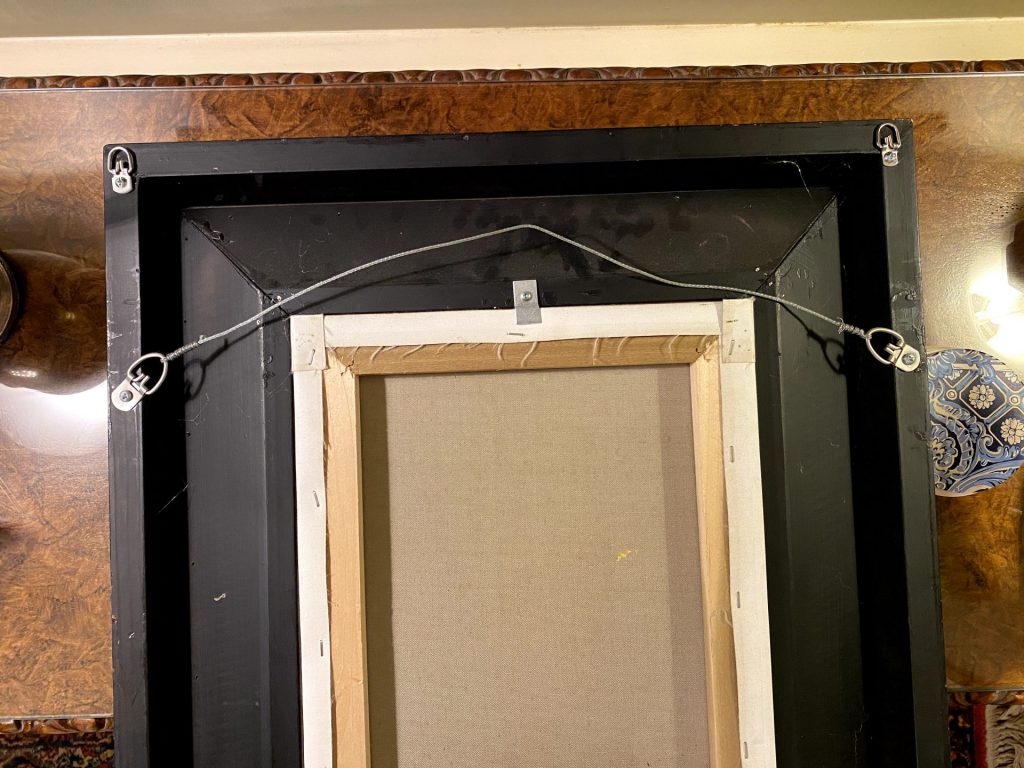
As you can see here, we added D-Rings in the top left and top right. They’re pretty easy to install on a substantial frame like this. If you were hanging something with a thin, light frame it might be much trickier. Given that the whole picture rail system is a very traditional system, I recommend you stick with thicker frames in order to get the look and the durability that you’ll want.
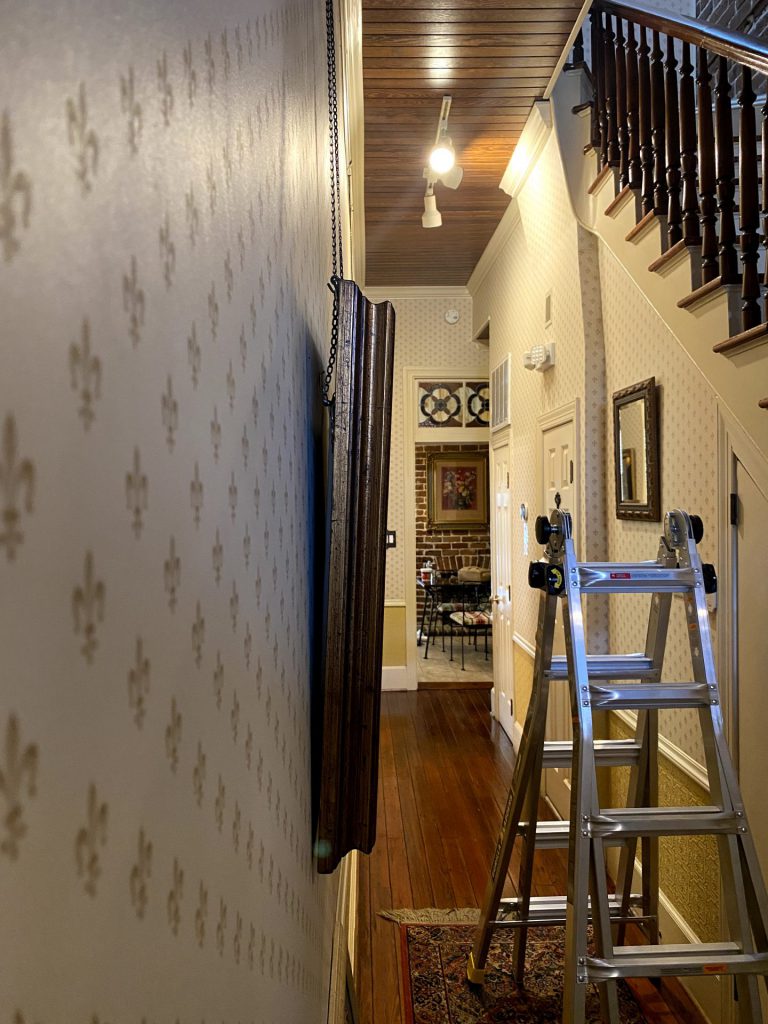
Once we had the new D-Rings in place, we got much closer to the wall:
Another note: We could have purchased heavier chain and a heavy duty picture hangers, but we didn’t. Since we generally do these projects during a single stay at the Broughton Street House, we can’t reorder parts if we discover we’ve missed something. For that reason, when we hung the VERY heavy mirror, we used two hangers and two chains.
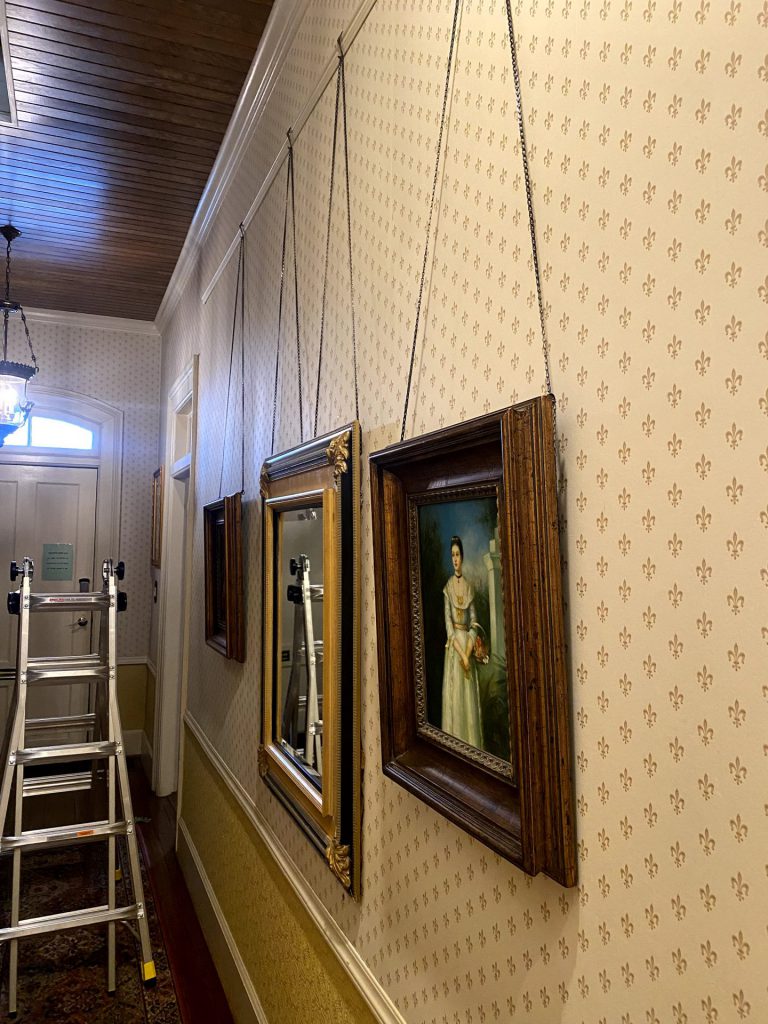
Our Finished Picture Rail
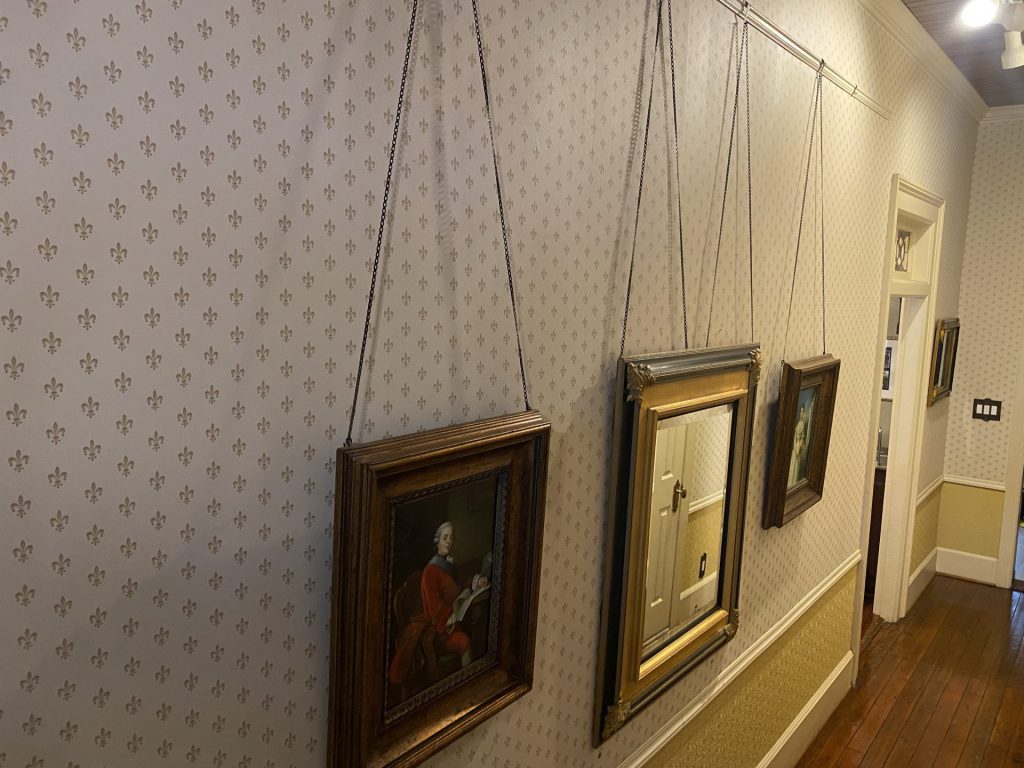
We are unable to get a straight on photo, being a hallway. However, you can see the final results in this photo with three ornate frames hanging via the rail.
We are very happy with how this turned out. While we don’t have any other existing picture rails, we’re considering other locations. This is a classic way to display your art.